Do you want to print from a Windows desktop? To start printing with ezeep Blue from your Windows desktop, you will need to download and install the ezeep print app on your Windows desktop. Below you will find the download and installation steps for Windows Desktop. This article also applies to Windows 365 Business Cloud PC, Windows 365 Enterprise Cloud PC, Azure Virtual Desktop, Citrix Virtual Apps and Desktops, VMWare Horizon, and other virtual Desktops.
Note: At this point you should have an existing ezeep Blue account. If not, please refer to this article.
Download #
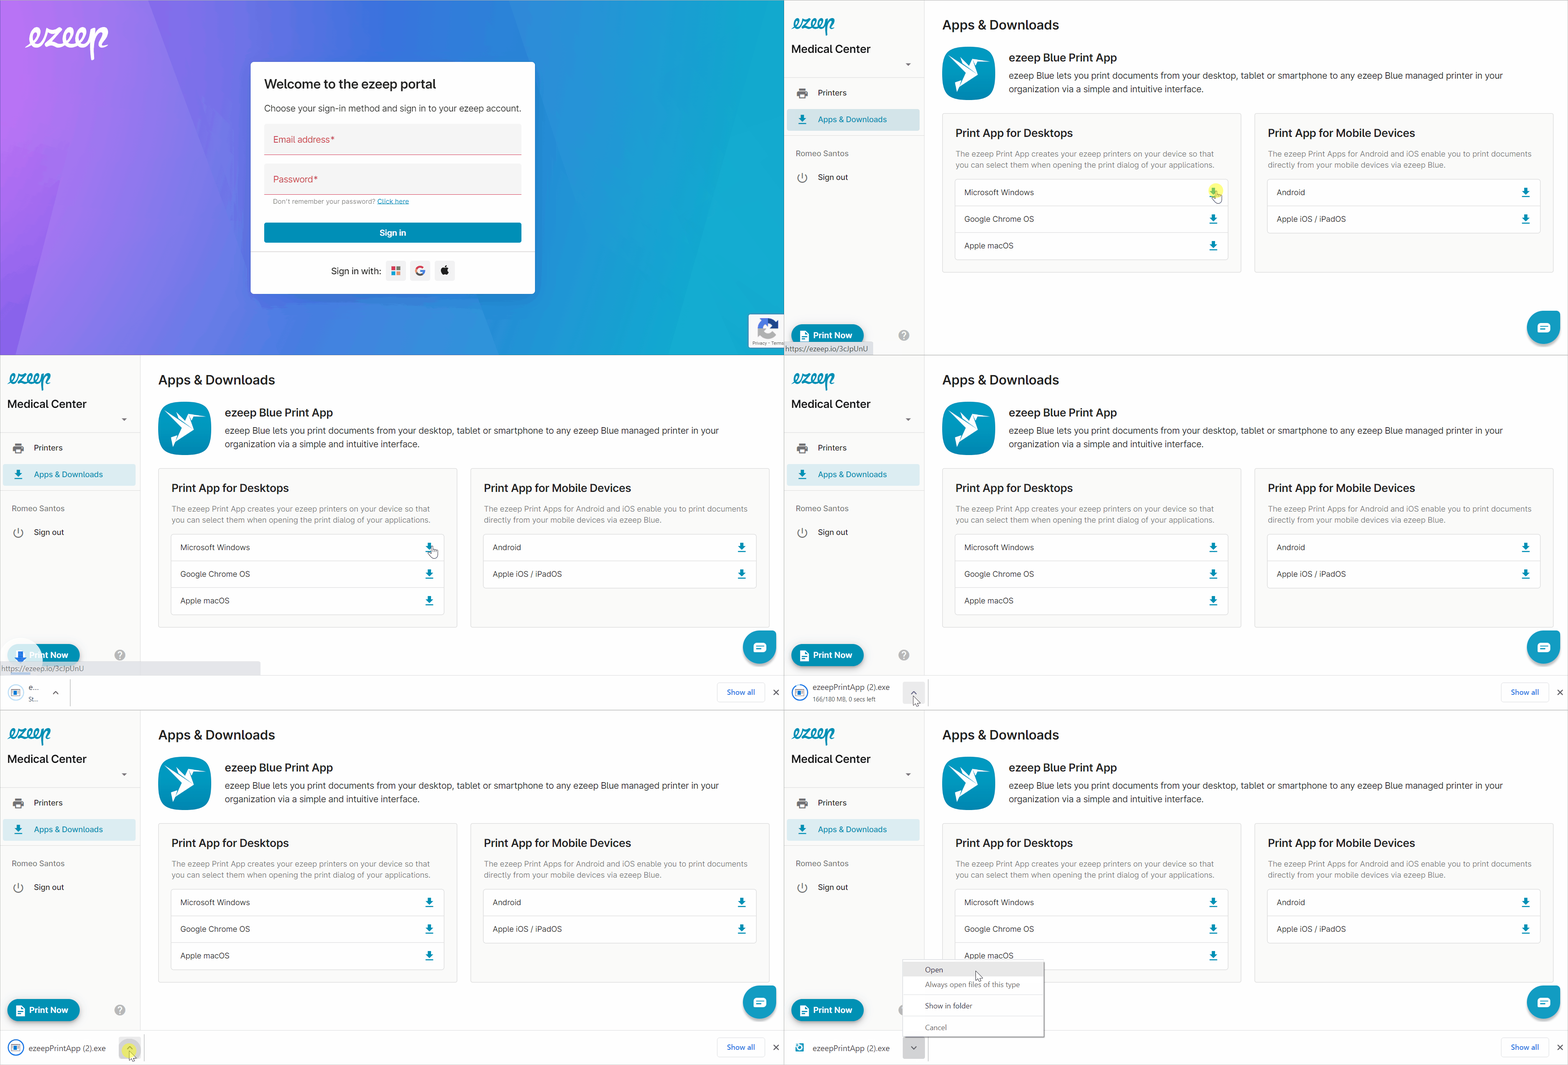
- Login to the ezeep Blue Portal
- On the left pane, select “Apps & Downloads.”
- Under “Print App for Desktops,” click the download arrow on “Microsoft Windows.” The software will download to the “Downloads” folder.
Install #
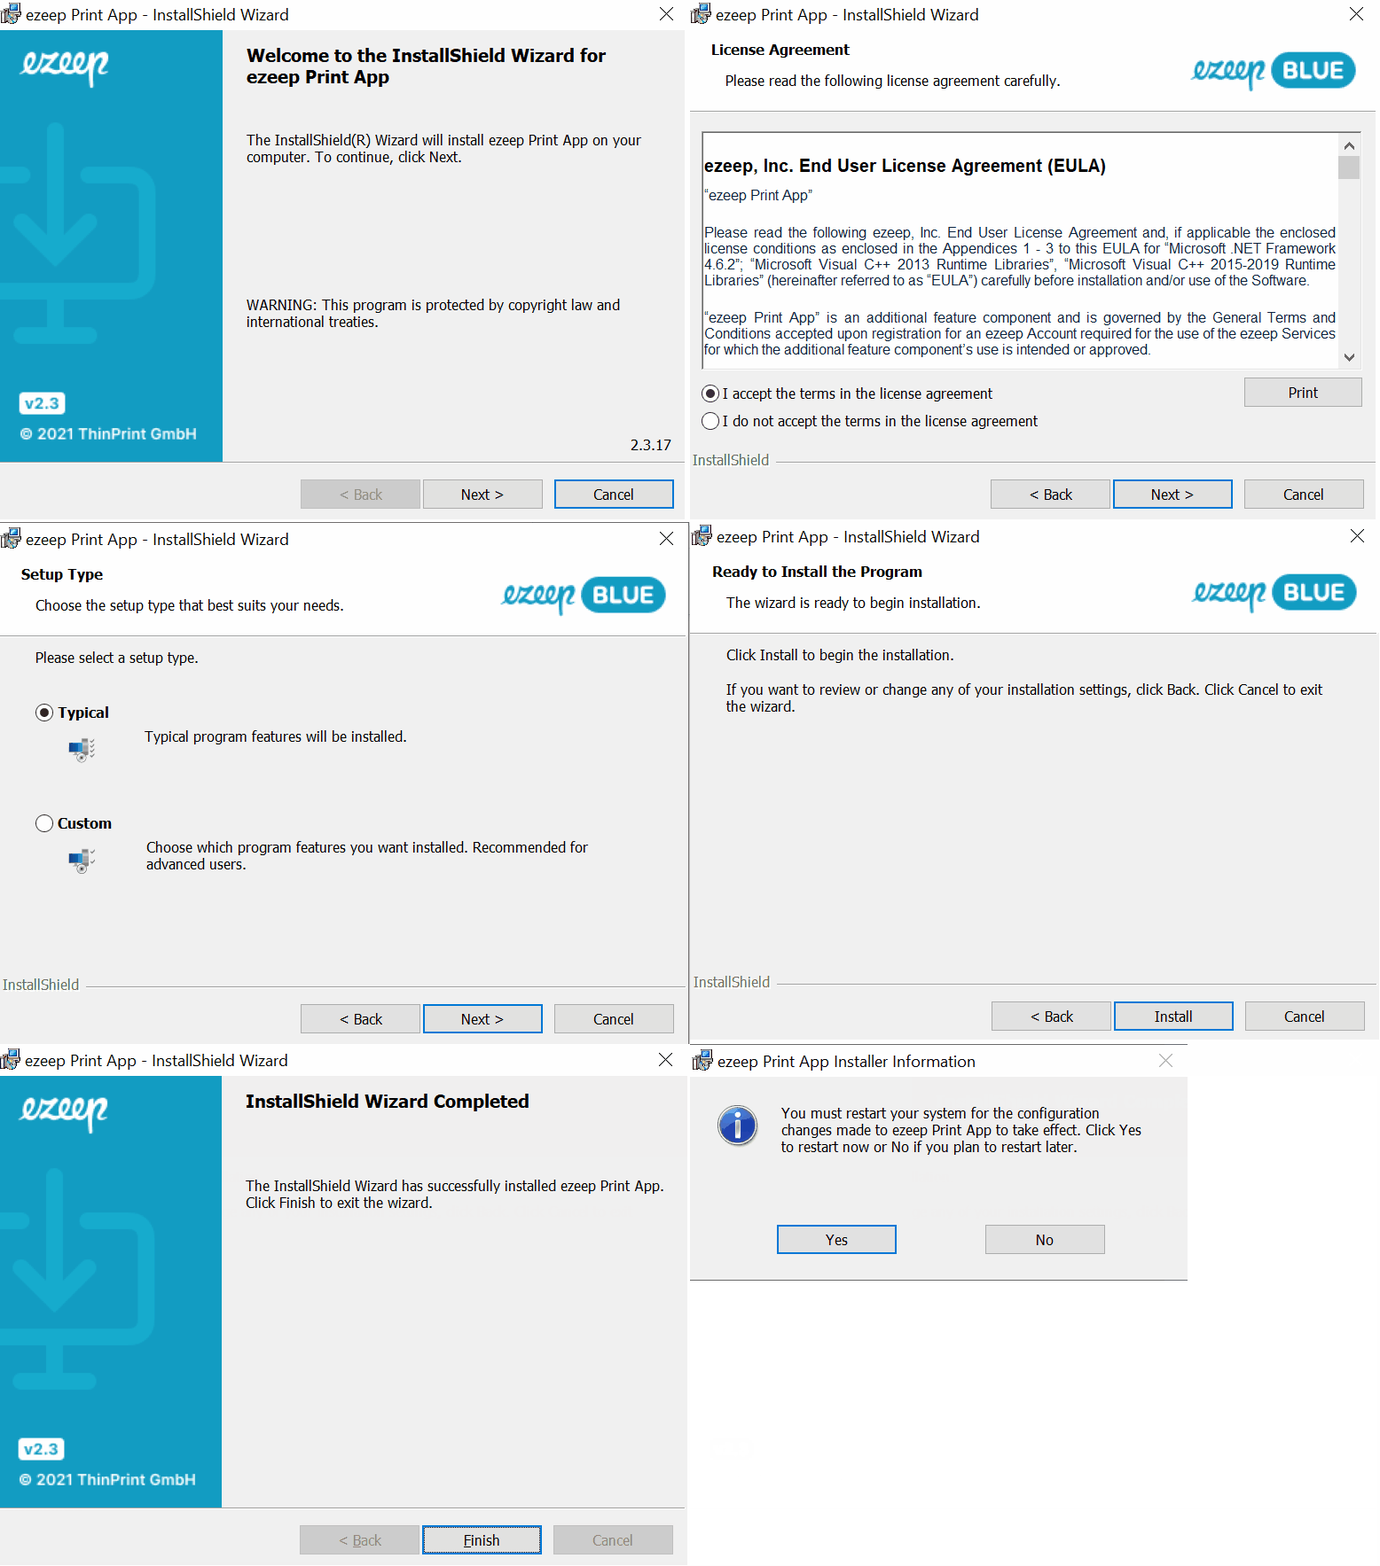
- Run the ezeep Print App executable as Admin and follow the prompts.
- Click “Next.“
- Select “I accept the terms in the license agreement” and click on “Next.“
- Select “Typical” and click on “Next.”
- Click “Install.“
- To complete the installation, click on “Finish.”
- A reboot of the machine is required. Click on “Yes.”
- After the reboot, the ezeep login page will automatically open for you to log in. Enter your ezeep Blue credentials.
- You are ready to start printing!
Upgrade #
- Log in to the ezeep Blue Portal and download the latest software version.
- On the left pane, select “Apps & Downloads.”
- Under “Print App for Desktops,” click the download arrow on “Microsoft Windows.” The software will download to the “Downloads” folder.
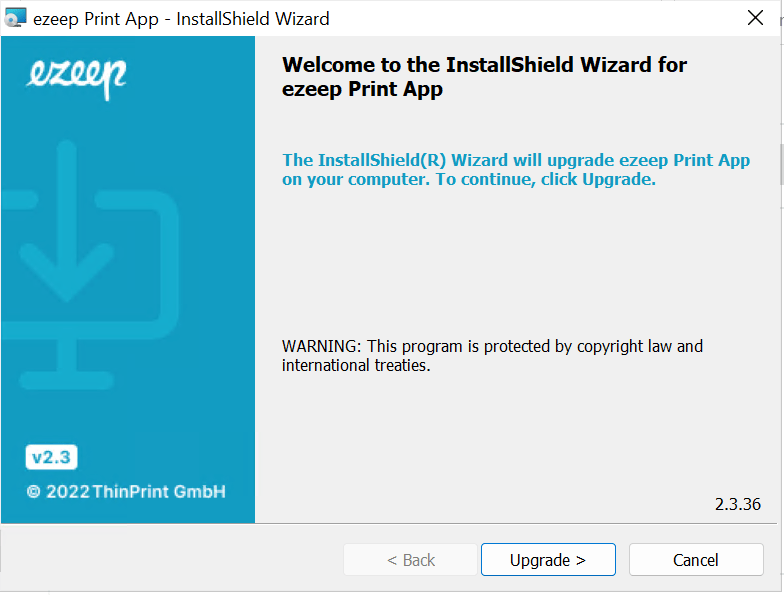
- Run the ezeep Print App executable as Admin and follow the prompts.
- Click “Upgrade.”
- Select all the defaults at the next prompts.
- To complete the installation, click on “Finish.”
- A reboot of the machine is required. Click on “Yes.”
- After the reboot, you are ready to start printing!
Uninstall #
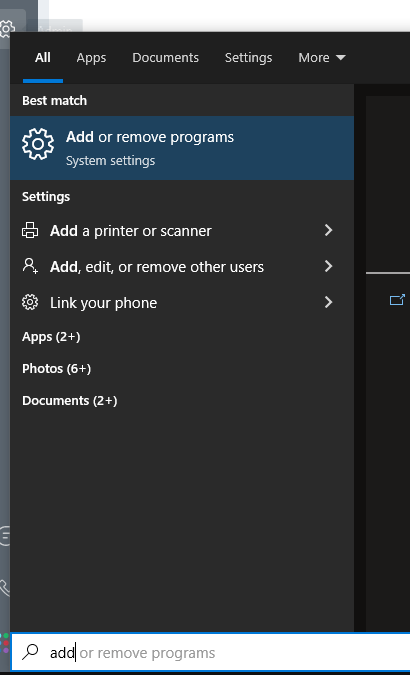
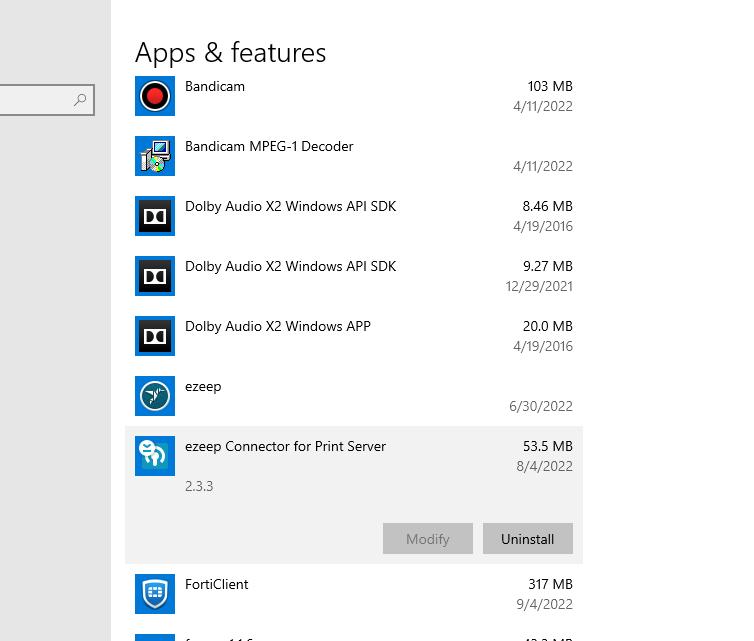
- Uninstall the application via “Add or Remove Programs” in Windows:
